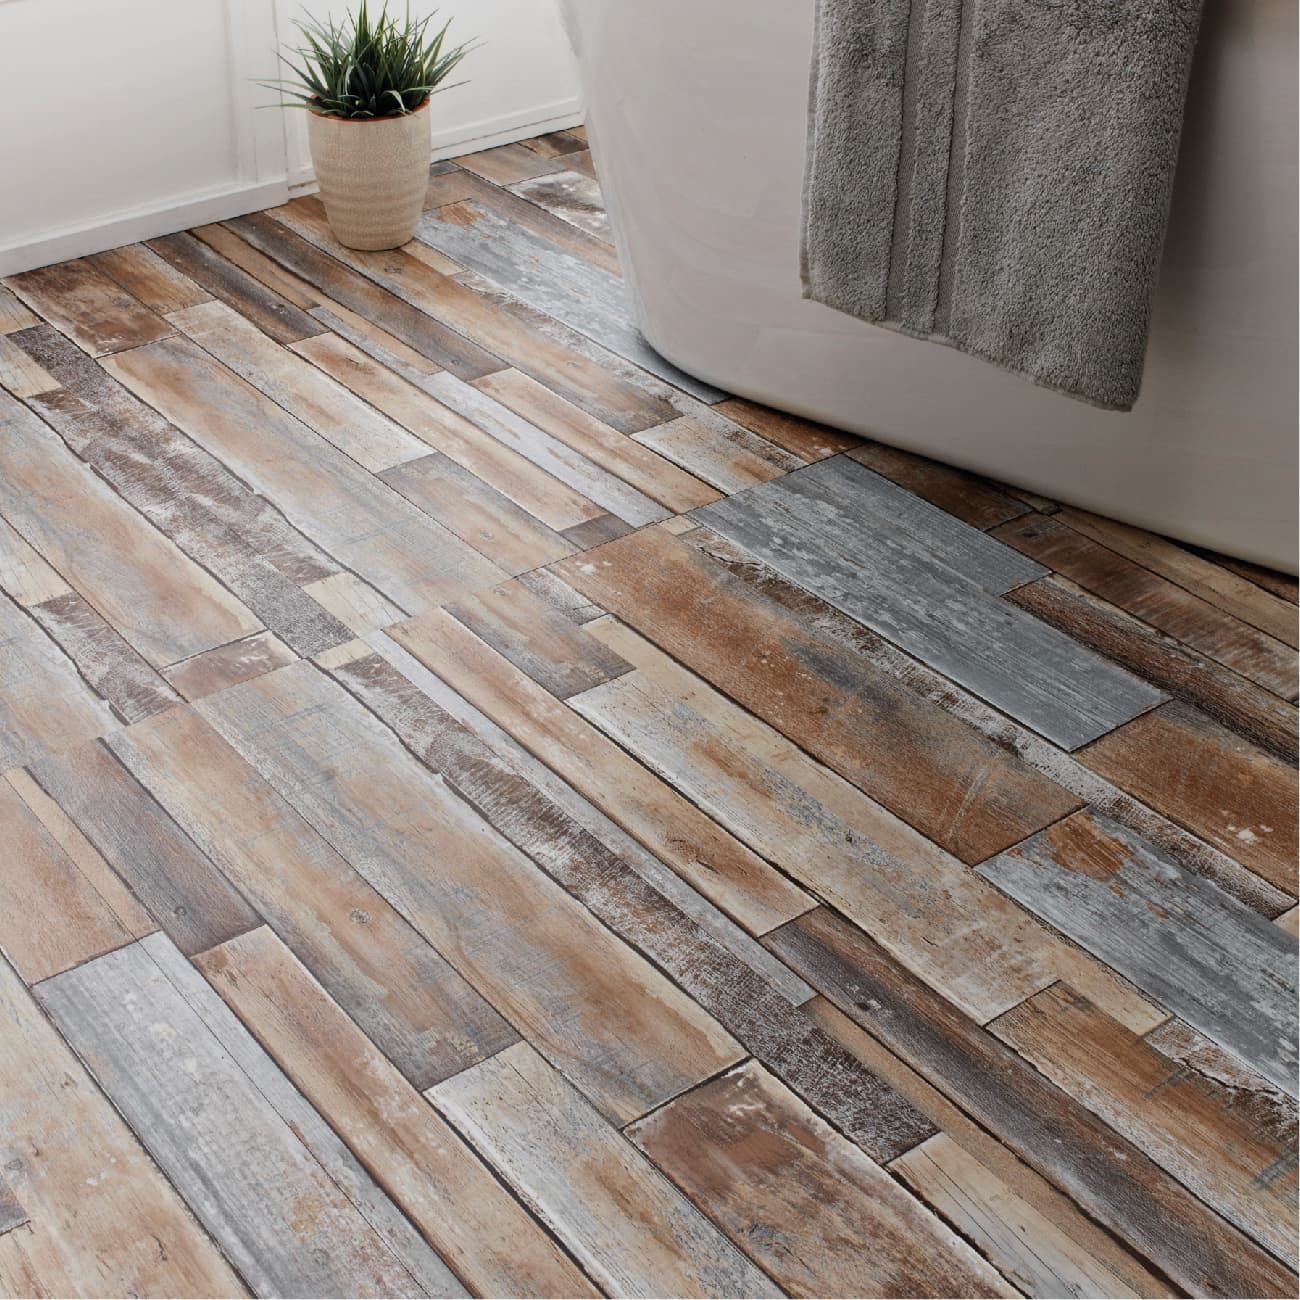
Vinyl Flooring Installation Process and Surface Preparation Overview
Vinyl flooring installation is a structured process that focuses on preparing a stable base and applying durable floor layers that support long-term performance. Averys General Contracting in Emmett, ID follows a step-by-step method that begins with surface inspection to check for cracks, uneven areas, or moisture concerns. Once assessed, subfloor preparation is carried out using leveling compounds and smoothing techniques to create a balanced foundation. A moisture barrier is then applied when required to protect the flooring system from damp conditions.
After preparation, accurate measurements and layout planning are completed to ensure proper alignment of vinyl planks or sheets. Depending on the system type, adhesive bonding or click-lock installation methods are used to secure each section firmly. Careful fitting helps reduce gaps and supports a clean surface finish. Edges are trimmed and sealed for consistency, followed by final checks for stability and alignment. The process concludes with cleanup and surface inspection to ensure readiness for use. For service coordination or project details, contact (208) 325-5785 for assistance and scheduling support.
Additional steps may include underlayment adjustment for sound control, expansion spacing for material movement, and final surface polishing to enhance overall appearance and usability consistency.
Structured Planning
Code Compliance
Precision Craftsmanship
Making the Right Decision
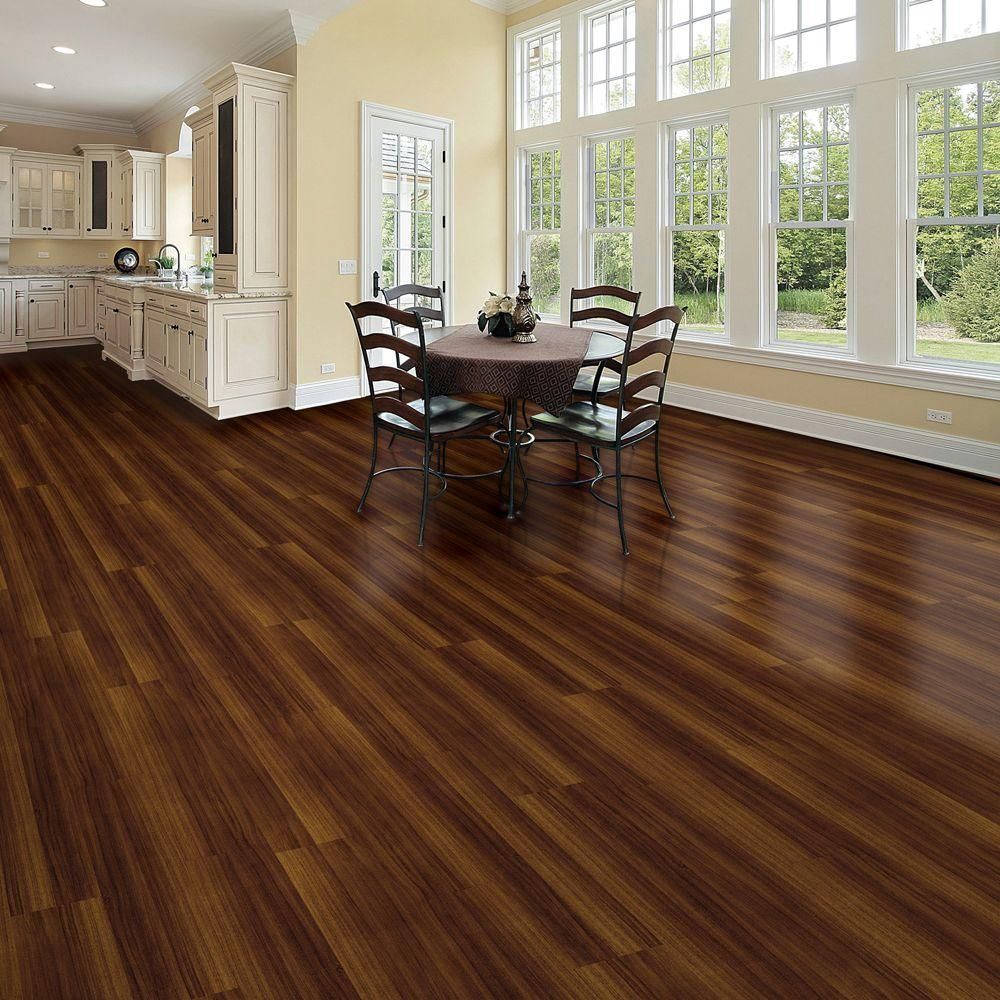
Structural Floor Enhancements and Material Handling Features
These features help maintain consistent flooring performance and reduce future maintenance concerns. Each step plays an important role in creating a stable surface that supports daily use without unnecessary wear.
🟦Subfloor Leveling: Improves surface balance to support even vinyl placement and reduce long-term shifting issues
🟩Moisture Protection Layer: Helps reduce water impact and supports flooring durability over time
🟨Secure Bonding Systems: Enhances adhesion strength between vinyl layers and base surfaces
🟧Accurate Layout Planning: Ensures proper alignment and reduces material waste during installation
🟥Edge Finishing Control: Provides clean transitions and smooth perimeter detailing for improved appearance
Material handling methods are selected based on site conditions and flooring type requirements. Proper execution of these steps improves overall floor reliability and appearance consistency. Surface testing and final alignment checks are also completed to confirm installation stability and uniform finish across all areas. Additional inspection of joints and adhesion points is performed to ensure long-term structural stability under regular use conditions and surface integrity. For project discussions or service scheduling, reach out at (208) 325-5785
for direct coordination.
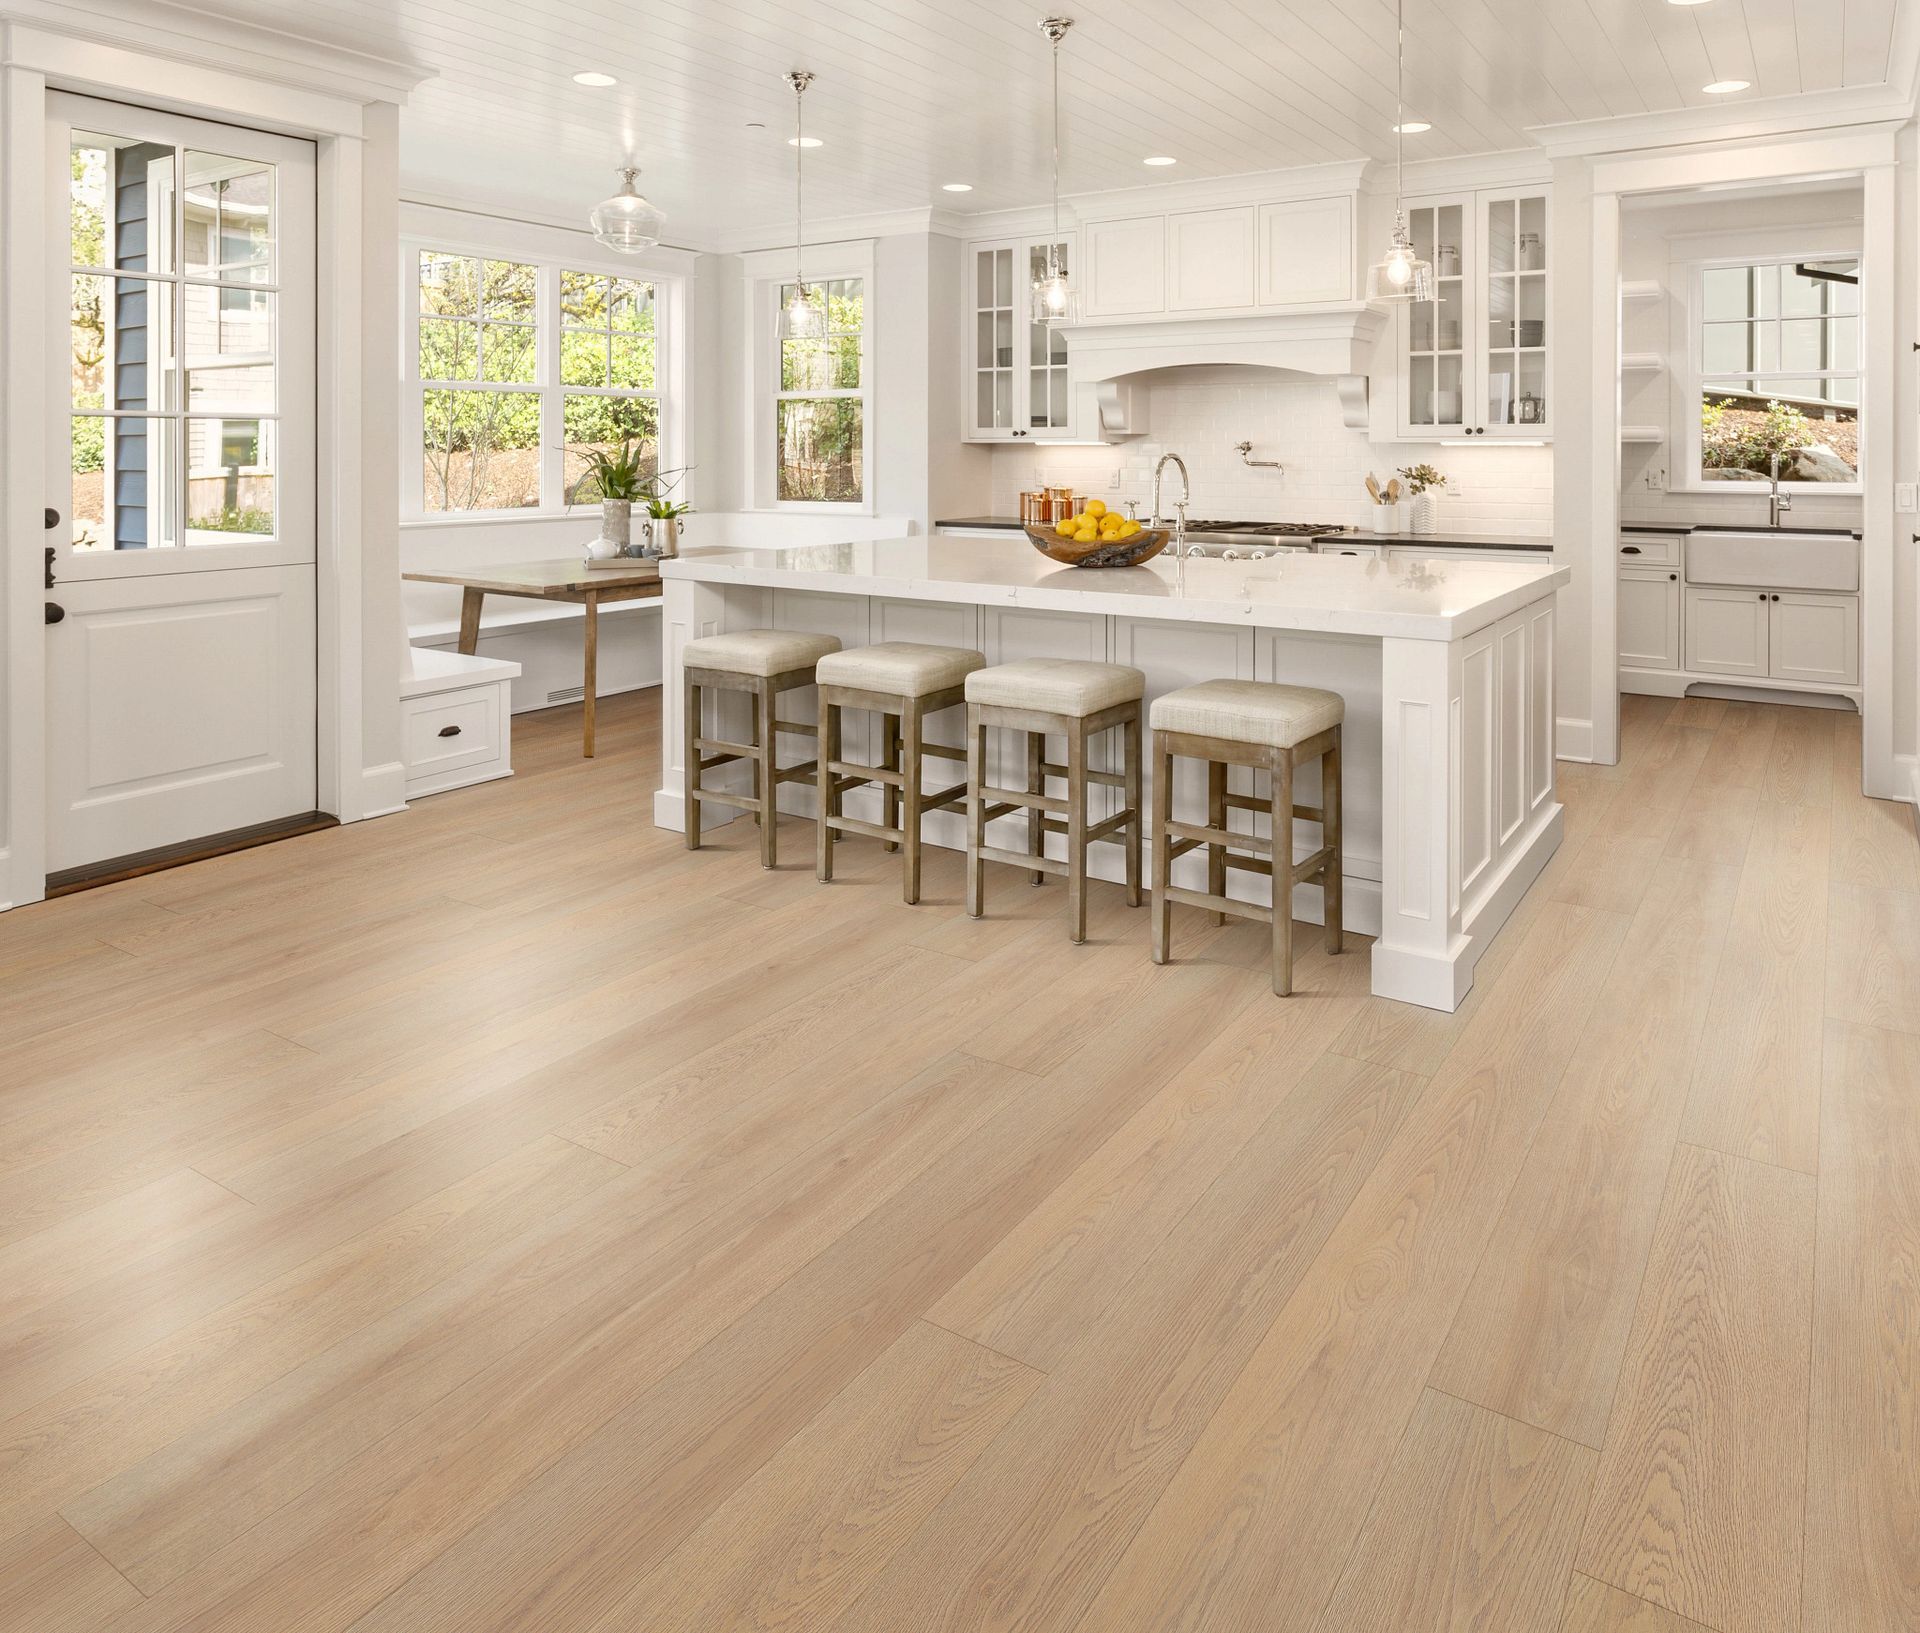
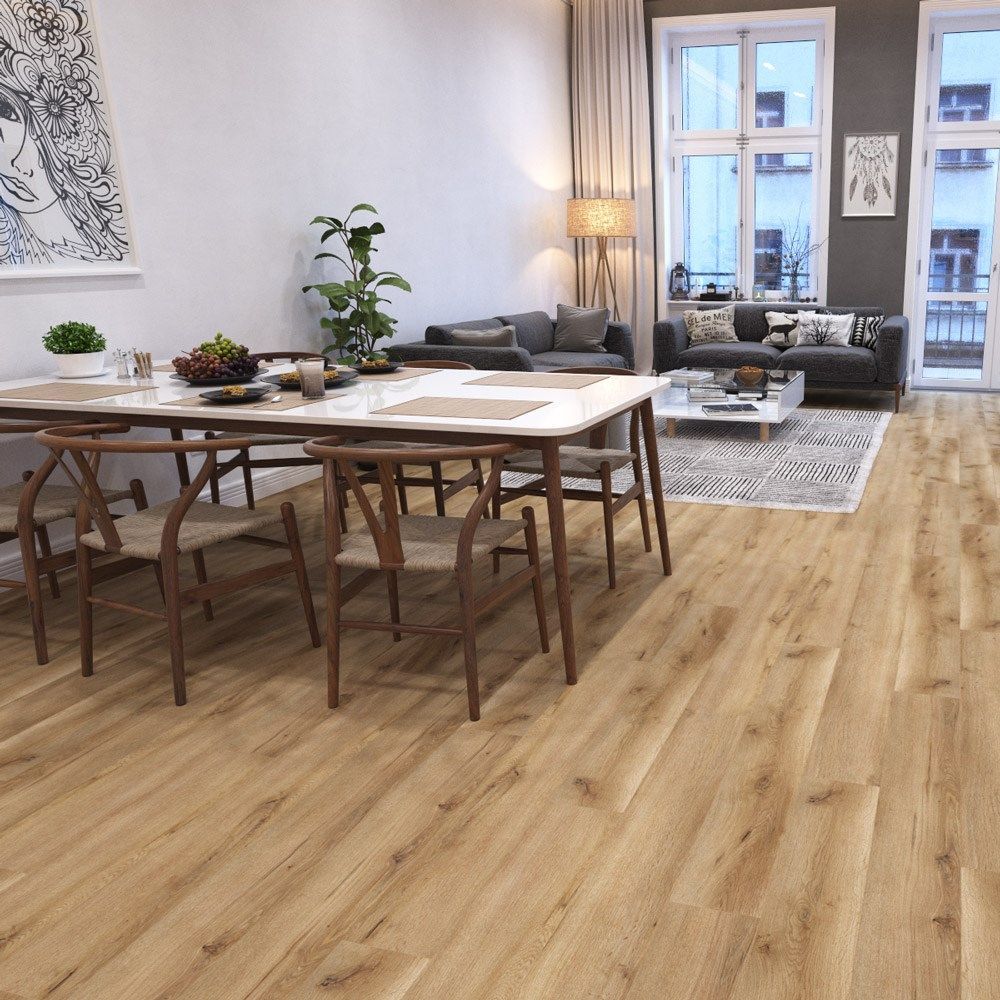
Vinyl Flooring System Application and Installation Workflow
Vinyl flooring systems are applied through a controlled workflow that focuses on accurate placement, strong surface bonding, and smooth finishing results. The process begins with evaluating the base surface to ensure it can support flooring installation without movement or instability. Averys General Contracting in Emmett, ID applies preparation techniques that may include patching, leveling, and cleaning to achieve a ready-to-install surface.
Once the base is prepared, layout marking is completed to guide proper alignment of vinyl planks or sheets. Installation methods may include adhesive application or interlocking systems depending on material type. Each section is fitted carefully to reduce spacing issues and ensure a uniform surface. Pressure is applied during installation to strengthen bonding and maintain alignment.
Finishing steps include edge trimming, sealing, and final surface review to confirm consistency across the installed area. Attention is given to transitions and corners to maintain a smooth appearance. The entire workflow is designed to support durability and balanced surface performance over time. Additional curing time and post-installation inspection help ensure stability and long-term adhesion quality. For further assistance or scheduling needs, contact (208) 325-5785
for direct support.
Structured. Transparent. Controlled.
We got it.
Thank you for contacting us.
We’ll get back to you as soon as possible.
Plan With Confidence
Let’s Build the Right Plan
Share your vision and we’ll guide the next steps.